安装
基础环境
安装 Gerrit-3.9.1 需要 Java 17 和 git 环境。
创建 gerrit 用户密码,并加入 sudoers 组。
sudo useradd -s /bin/bash -m gerrit
sudo passwd gerrit

sudo vim /etc/sudoers  # 以下内容添加到最后
gerrit ALL=(ALL) NOPASSWD:ALL
快速安装
快速安装的 Gerrit 仅供演示,不得在生产环境中使用。
在 gerrit 用户下,下载 gerrit-3.9.1.war 包。
sudo su - gerrit
wget https://gerrit-releases.storage.googleapis.com/gerrit-3.9.1.war
安装并初始化 Gerrit:
java -jar gerrit-3.9.1.war init --batch --dev -d ./gerrit_site
- --batch:为多个 Gerrit 配置选项分配默认值
- --dev:将 Gerrit 服务器配置为使用身份验证选项
DEVELOPMENT_BECOME_ANY_ACCOUNT,这使您能够在不同用户之间切换以探索 Gerrit 的工作原理
输出以下内容表示安装并启动成功:
Executing /home/gerrit/gerrit_site/bin/gerrit.sh start
Starting Gerrit Code Review: WARNING: Could not adjust Gerrit's process for the kernel's out-of-memory killer.
         This may be caused by /home/gerrit/gerrit_site/bin/gerrit.sh not being run as root.
         Consider changing the OOM score adjustment manually for Gerrit's PID=32039 with e.g.:
         echo '-1000' | sudo tee /proc/32039/oom_score_adj
OK
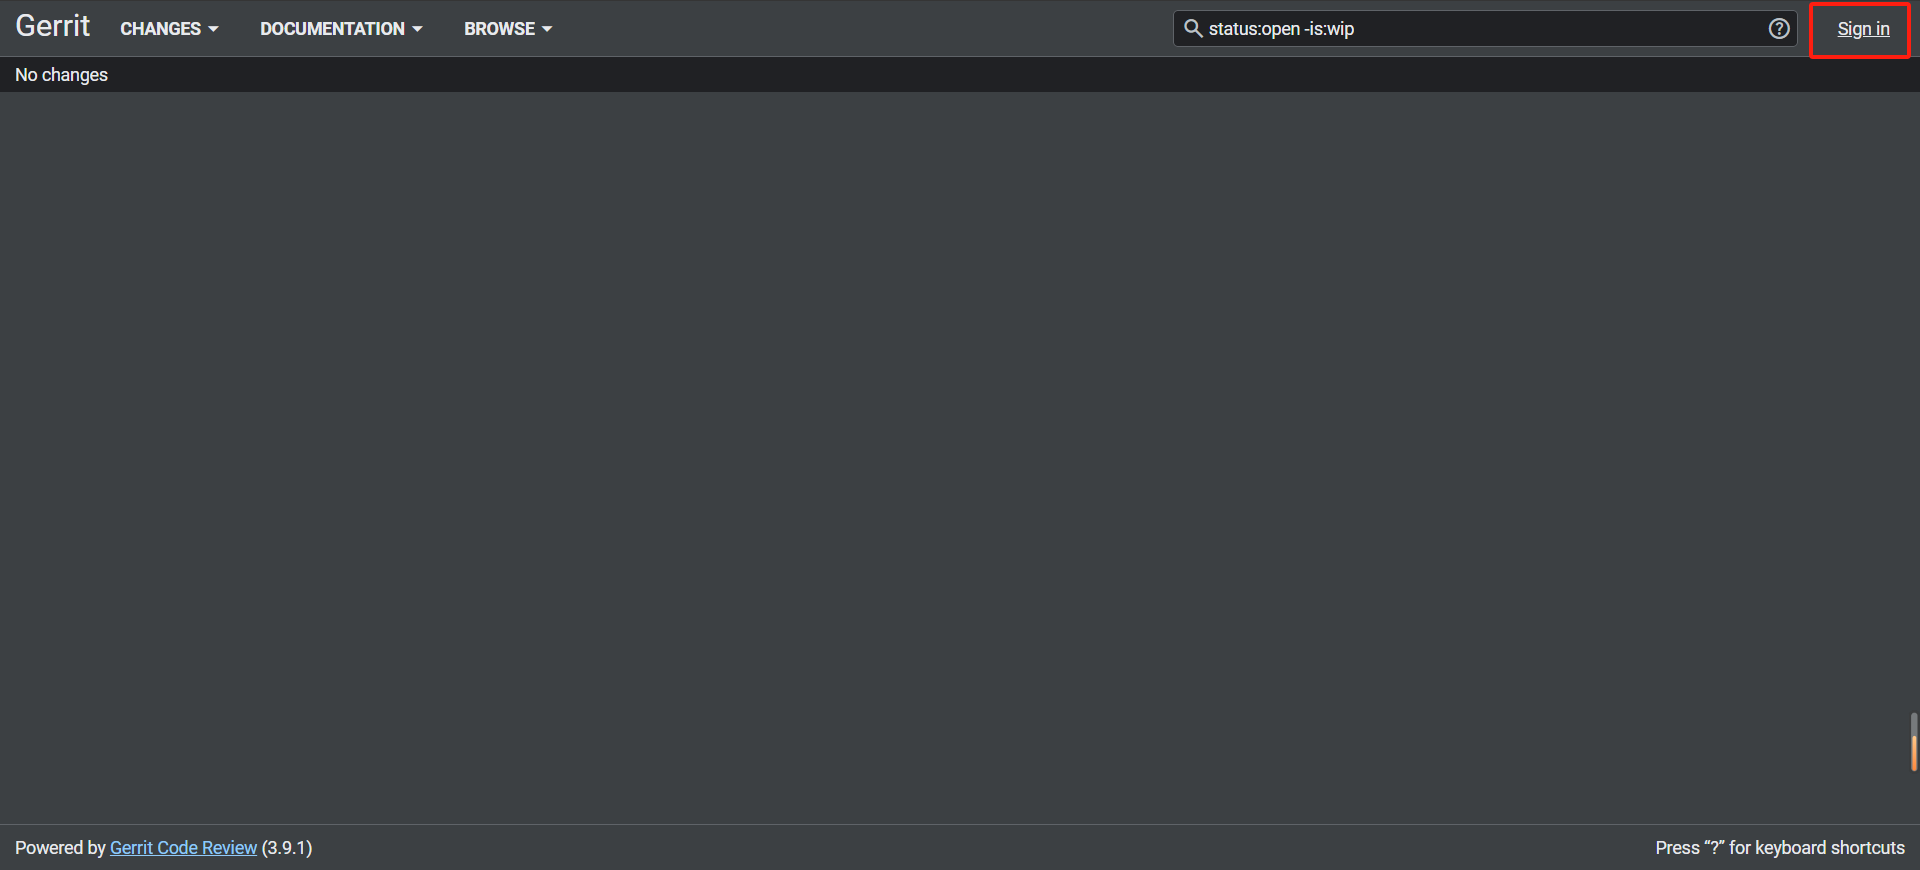
访问 http://localhost:8080/ 地址。点击右上角 Sign in 登录。
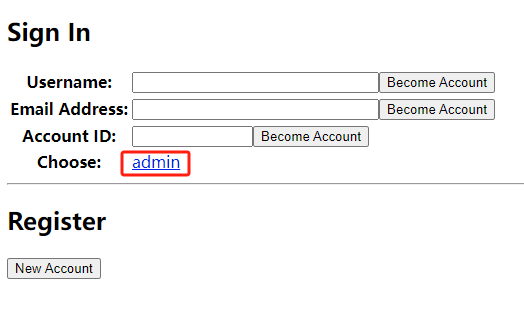
直接点击 admin 访问,admin 是管理员用户。也可以输入 用户名 和 邮箱,创建普通用户访问。
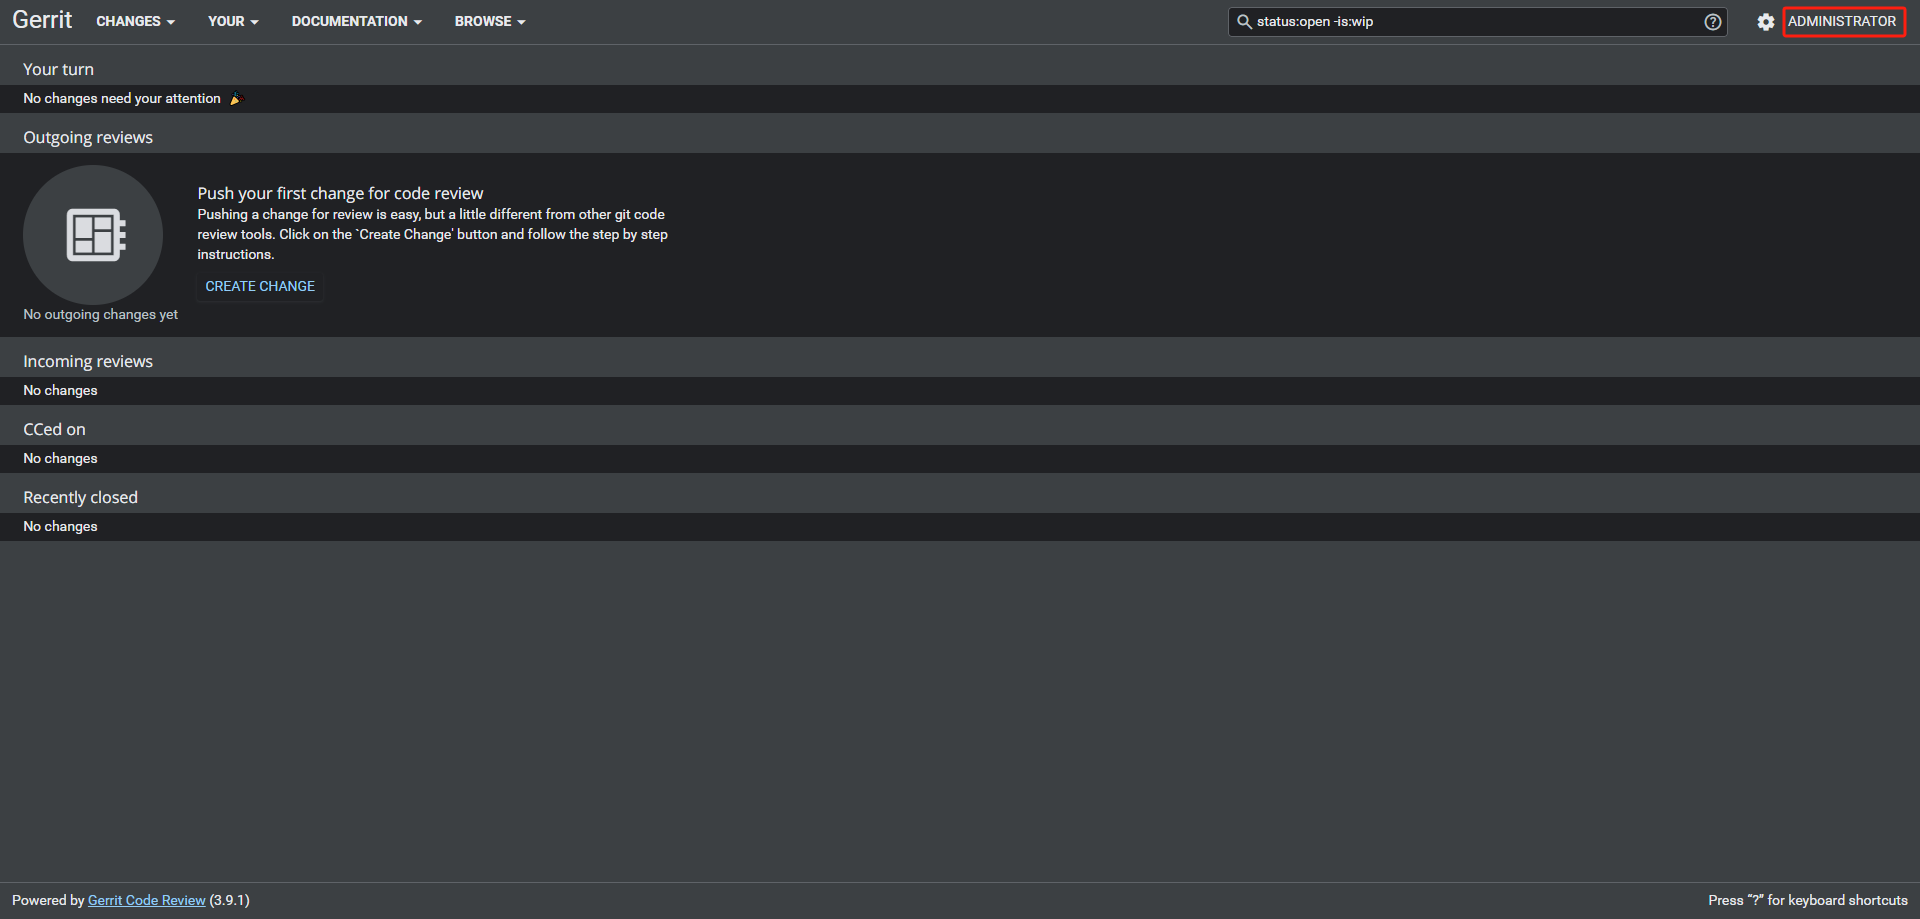
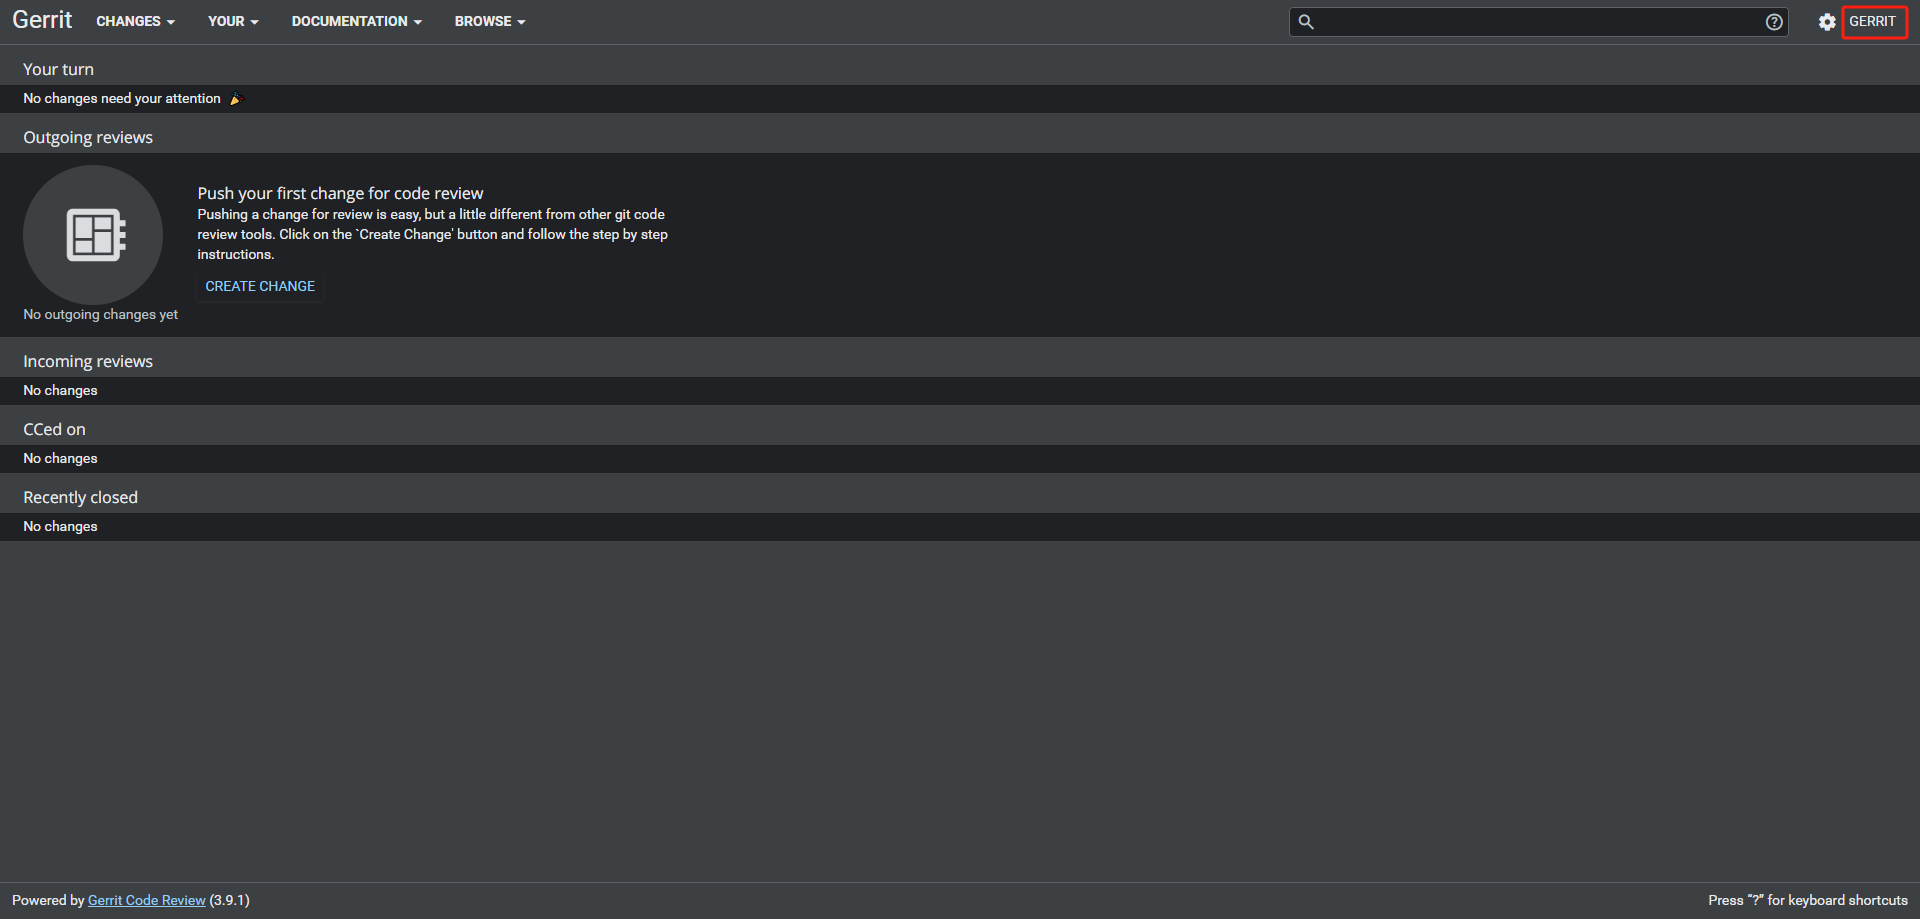
使用 admin 用户登录 Gerrit 首页:
生产环境安装
在 gerrit 用户下,下载 gerrit-3.9.1.war 包。
sudo su - gerrit
wget https://gerrit-releases.storage.googleapis.com/gerrit-3.9.1.war
安装并初始化 Gerrit:
java -jar gerrit-3.9.1.war init -d ./review_site
初始化配置
*** Gerrit Code Review 3.9.1
***

Create '/home/gerrit/review_site' [Y/n]? y  # 创建安装目录

*** Git Repositories
***

Location of Git repositories   [git]:  # 指定 Git 存储库的位置。使用默认位置

*** JGit Configuration
***

Auto-configured "receive.autogc = false" to disable auto-gc after git-receive-pack.

*** Index
***

Type                           [lucene]:  # 索引类型。使用默认索引

*** User Authentication
***

Authentication method          [openid/?]: ?  # 用户身份验证类型。? 号输出提示
       Supported options are:
         openid
         openid_sso
         http
         http_ldap
         client_ssl_cert_ldap
         ldap
         ldap_bind
         custom_extension
         development_become_any_account
         oauth
Authentication method          [openid/?]: http  # 选择 http 类型
Get username from custom HTTP header [y/N]?  # 是否从自定义 HTTP 标头获取用户名。使用默认值
SSO logout URL                 :
Enable signed push support     [y/N]?
Use case insensitive usernames [Y/n]?

*** Review Labels
***

Install Verified label         [y/N]? y  # 是否安装 Verified label,用于 Jenkins 做 CI 审查。选择安装

*** Email Delivery
***

SMTP server hostname           [localhost]:  # SMTP 邮件地址
SMTP server port               [(default)]:  # 端口号
SMTP encryption                [none/?]: ?  # SMTP 加密。? 号输出提示
       Supported options are:
         none
         ssl
         tls
SMTP encryption                [none/?]:
SMTP username                  :  # 自动发送邮箱地址,如果输入,后面需要输入邮箱的 SMTP 授权码,非邮箱用户密码

*** Container Process
***

Run as                         [gerrit]:  # 运行进程名。使用默认值
Java runtime                   [/opt/jdk/jdk-17.0.10]:  # Java 路径
Copy gerrit-3.9.1.war to review_site/bin/gerrit.war [Y/n]?  # 是否拷贝。使用默认值
Copying gerrit-3.9.1.war to review_site/bin/gerrit.war

*** SSH Daemon
***

Listen on address              [*]: 10.1.1.10  # SSH 监听地址。* 表示所有地址
Listen on port                 [29418]:  # SSH 监听端口。使用默认值
Generating SSH host key ... rsa... ed25519... ecdsa 256... ecdsa 384... ecdsa 521... done

*** HTTP Daemon
***

Behind reverse proxy           [y/N]? y  # 是否使用反向代理。选择 y
Proxy uses SSL (https://)      [y/N]?  # 是否使用 SSL。使用默认值
Subdirectory on proxy server   [/]:  # 代理服务器的子目录。使用默认值
Listen on address              [*]: 10.1.1.10  # 指定 Gerrit 监听地址
Listen on port                 [8081]: 8088  # 指定 Gerrit 监听端口
Canonical URL                  [http://10.1.1.10/]: http://10.1.1.10:8088/  # 指定 Gerrit 基础连接

*** Cache
***


*** Plugins
***

Installing plugins.
Install plugin codemirror-editor version v3.9.1 [y/N]? y  # 是否安装插件。选择 y
Installed codemirror-editor v3.9.1
Install plugin commit-message-length-validator version v3.9.1 [y/N]? y
Installed commit-message-length-validator v3.9.1
Install plugin delete-project version v3.9.1 [y/N]? y
Installed delete-project v3.9.1
Install plugin download-commands version v3.9.1 [y/N]? y
Installed download-commands v3.9.1
Install plugin gitiles version v3.9.1 [y/N]? y
Installed gitiles v3.9.1
Install plugin hooks version v3.9.1 [y/N]? y
Installed hooks v3.9.1
Install plugin plugin-manager version v3.9.1 [y/N]? y
Installed plugin-manager v3.9.1
Install plugin replication version v3.9.1 [y/N]? y
Installed replication v3.9.1
Install plugin reviewnotes version v3.9.1 [y/N]? y
Installed reviewnotes v3.9.1
Install plugin singleusergroup version v3.9.1 [y/N]? y
Installed singleusergroup v3.9.1
Install plugin webhooks version v3.9.1 [y/N]? y
Installed webhooks v3.9.1
Initializing plugins.

============================================================================
Welcome to the Gerrit community

Find more information on the homepage: https://www.gerritcodereview.com
Discuss Gerrit on the mailing list: https://groups.google.com/g/repo-discuss
============================================================================
Initialized /home/gerrit/review_site
Init complete, reindexing accounts,changes,groups,projects with: reindex --site-path review_site --threads 1 --index accounts --index changes --index groups --index projectsReindexed 0 documents in accounts index in 0.0s (0.0/s)
Index accounts in version 13 is ready
Reindexing groups:      100% (2/2)
Reindexed 2 documents in groups index in 0.5s (4.1/s)
Index groups in version 10 is ready
Reindexing changes: Slicing projects: 100% (2/2), done
Reindexed 0 documents in changes index in 0.0s (0.0/s)
Index changes in version 84 is ready
Reindexing projects:    100% (2/2)
Reindexed 2 documents in projects index in 0.2s (12.0/s)
Index projects in version 8 is ready
Executing /home/gerrit/review_site/bin/gerrit.sh start
Starting Gerrit Code Review: WARNING: Could not adjust Gerrit's process for the kernel's out-of-memory killer.
         This may be caused by /home/gerrit/review_site/bin/gerrit.sh not being run as root.
         Consider changing the OOM score adjustment manually for Gerrit's PID=41520 with e.g.:
         echo '-1000' | sudo tee /proc/41520/oom_score_adj
OK
Waiting for server on 10.1.1.10:8088 ... OK
Please open the following URL in the browser: http://10.1.1.10:8088/#/admin/projects/
由于 Gerrit 使用反向代理,直接访问 Gerrit 监听的 http://10.1.1.10:8088/ 地址失败。
使用 Nginx 做 Gerrit 反向代理。
安装 Nginx:
sudo yum install -y nginx
在 Nginx 中配置 Gerrit 代理,创建 gerrit.conf 文件:
cd /etc/nginx/conf.d/
sudo vim gerrit.conf
在 gerrit.conf 文件中添加以下内容:
server {
    listen 8081;
    server_name localhost;
    allow all;
    deny all;

    auth_basic "Welcome to Gerrit Code Review Site!";
    auth_basic_user_file /home/gerrit/review_site/etc/.password;

    location / {
        proxy_pass http://10.1.1.10:8088;
        proxy_set_header X-Forwarded-For $remote_addr;
        proxy_set_header Host $host;
    }
}
- listen:Nginx 监听端口
- auth_basic_user_file:HTTP 认证文件地址,用于 Gerrit 登录
- proxy_pass:需要代理 Gerrit 的地址及端口
相关信息
如果使用 Apache2 进行代理,参考 官网文档
创建 /home/gerrit/review_site/etc/.password 文件,并新增用户密码:
sudo su - gerrit
cd /home/gerrit/review_site/etc
htpasswd -cm .password gerrit
htpasswd -m .password lisi
htpasswd 命令用来创建和更新用于基本认证的用户认证密码文件。如果没有此命令,RedHat 系统需要安装 httpd-tools.x86_64 软件包;Debian 系统需要安装 apache2-utils 软件包。
- -c:创建密码文件,如果文件存在,那么内容被清空重写
- -m:使用
MD5加密
提示
.password 是隐藏文件,需要使用 ls -a 命令才可以显示
检查并修改 Gerrit 配置文件 gerrit.config 以下内容:
[gerrit]
        basePath = git
        canonicalWebUrl = http://10.1.1.10:8088/
        ...
[auth]
        type = HTTP
        ...
[httpd]
        listenUrl = proxy-http://10.1.1.10:8088/
        ...
- canonicalWebUrl:要访问的 Gerrit 的默认 URL
- type:Gerrit 采用的用户身份验证类型为 HTTP
- listenUrl:内部 HTTP 守护程序的侦听套接字的配置。使用
proxy-http://反向代理
重启 Gerrit 和 Nginx 服务:
cd /home/gerrit/review_site/bin
gerrit.sh restart
sudo systemctl restart nginx
访问 http://10.1.1.10:8081/ 代理地址,并用 gerrit 账号登录。
提示
浏览器打开后,通过 Web 界面登录 Gerrit。第一个登录并注册帐户的用户将自动被设置为管理员用户并加入的管理员组中,允许通过 Web 和 SSH 进行服务器管理。后续用户将自动注册为普通用户
HTTP 认证方式的缺点除了在用户密码文件管理上需要管理员手工维护比较麻烦之外,还有一个缺点就是用户一旦登录成功后,想退出登录或者更换其他用户帐号登录变得非常麻烦,除非关闭浏览器。关于切换用户有一个小窍门:例如:Gerrit 登录 URL 为 http://localhost:port/login/,则用浏览器访问 http://user:passwd@localhost:port/login/,即用错误的用户名和密码覆盖掉浏览器缓存的认证用户名和密码,这样就可以重新认证了
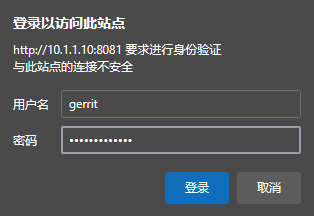
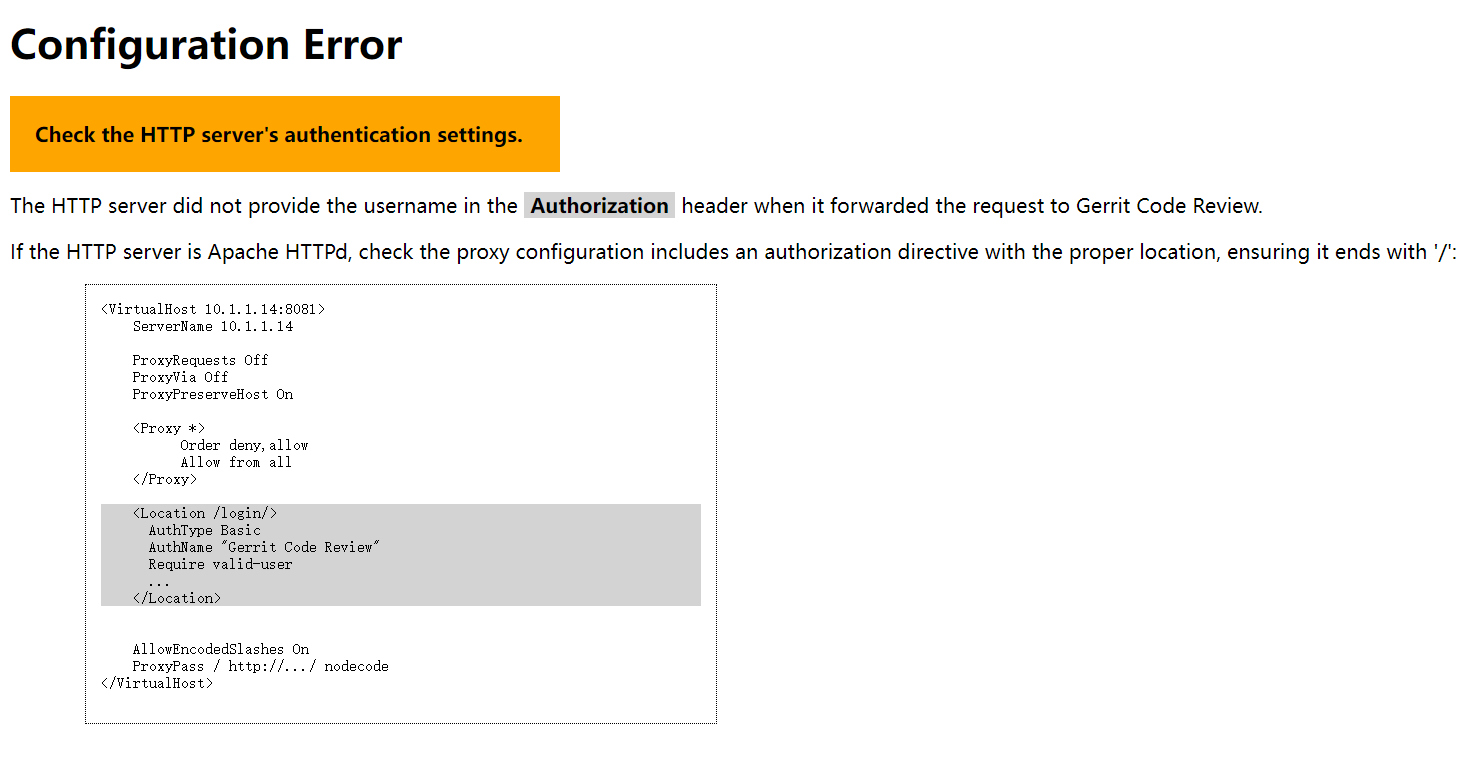
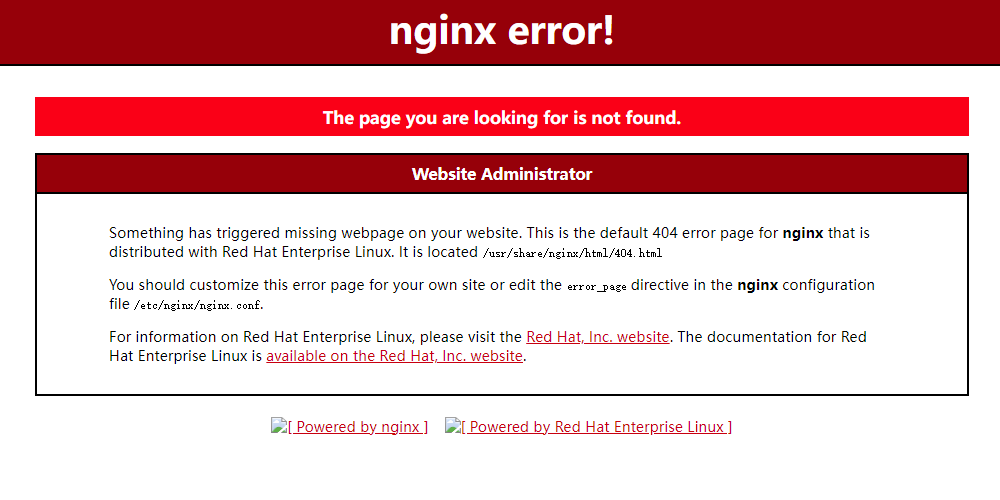
输入用户密码点击 登录 后,出现以下问题:

使用 sudo cat /var/log/nginx/error.log 命令查看 Nginx 错误 log:
2024/03/19 10:43:14 [crit] 462000#0: *19 open() "/home/gerrit/review_site/etc/.password"
failed (13: Permission denied), client: 10.1.1.1, server: localhost, request:
"GET /favicon.ico HTTP/1.1", host: "10.1.1.10:8081", referrer: "http://10.1.1.10:8081/"
此错误说明没有 /home/gerrit/review_site/etc/.password (13: Permission denied) 的访问权限。
由于 /home/gerrit/review_site/etc/.password 文件是在 gerrit 用户下创建的,只有 gerrit 用户有访问权限,nginx 用户没有访问权限。
解决方法 1
用
setfacl命令使nginx组对/home/gerrit目录有读(r)和执行(x)的权限:setfacl -m g:nginx:rx /home/gerrit解决方法 2
直接修改
/home/gerrit目录的访问权限:chmod 755 /home/gerrit/
再次访问 http://10.1.1.10:8081/ 代理地址:
启动/停止守护进程
要控制在后台运行的 Gerrit Code Review 守护进程,请使用由 init 创建的 rc.d 样式启动脚本:
- 服务运行:
review_site/bin/gerrit.sh start - 服务停止:
review_site/bin/gerrit.sh stop - 服务重启:
review_site/bin/gerrit.sh restart - 服务状态:
review_site/bin/gerrit.sh status
查看已安装插件信息
使用 gerrit 管理员用户登录 Gerrit Web 服务器,依次点击 BROWSE -> Plugins。
在插件页面随便点一个插件名,如出现以下错误:
因为访问的 URL 地址没有带端口号,在 URL 地址中添加访问端口即可。例如:
原 URL 地址:http://10.1.1.10/plugins/hooks/Documentation/index.html 修改后的 URL 地址:http://10.1.1.10:8081/plugins/hooks/Documentation/index.html